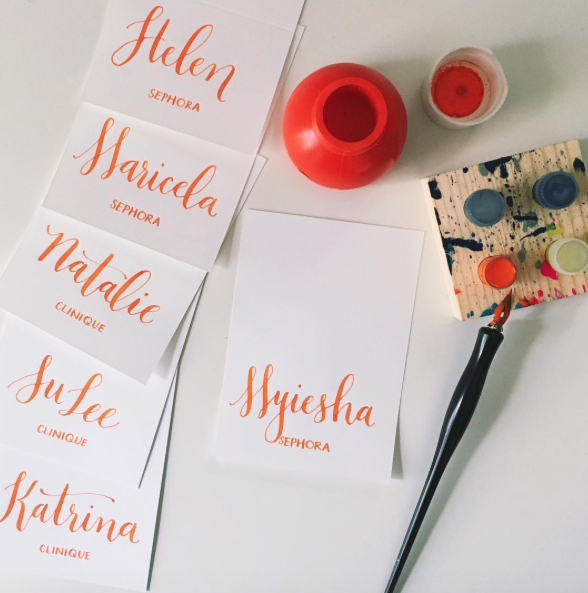
Art comes in many forms and calligraphy is certainly one of them. The word calligraphy originates from two Greek words: kallos, meaning ‘beauty’, and graphien, meaning ‘to write’, translating to ‘beautiful writing’. Calligraphy was traditionally used for important public documents; think back to the Declaration of Independence, your diploma, or your birth certificate. But in modern day, you’ll see it more commonly used for wedding invitations, logo designs, menus and more. Calligraphist and Designer, Rachel Reding, gave us the basics on how to begin practicing calligraphy.
You’ll need:
- Pen Holder
- Nib
- Ink
- Paper
- Letter Guide
- Anatomy of a calligraphy pen
Step 1: Start by placing the nib base in the pen holder until it’s secure and doesn’t want to slide out. Some of the base should still be sticking out.
Step 2: Dip the nib into a pot of ink. The ink should cover the whole nib, up to the body of the nib, possibly some of the base, but not very much.
Step 3: Your grip on the pen holder is key, make sure the nib is held perpendicular to the line you want to write on. The next thing to check is the angle that the pen is held against the paper, this should be approx. 30-45 degrees. As you practice, you’ll get more and more comfortable with this “pen posture” and how it effects the ink transferring to the paper.
Step 4: Practice up strokes and downstrokes in the simplest way by drawing “rollercoasters.” Apply more pressure on the downstroke than you do on the upstroke, by doing this you will create a thicker line on your downstroke, and a thinner line on your upstroke.
Step 5: Remember to let your hand glide up without any pressure on the paper to create the upstroke. This is called a “hairline.”
Step 6: Downstrokes are a little easier as the pen nib has less resistance against the texture of the paper. Don’t be afraid to really push down on the nib to test how wide you can go.
Step 7: Once you’ve experimented with “rollercosters,” move onto trying perfect circles, and then “mountains,” all of these exercises are key to preparing your hand for letters. If you want to skip ahead, try writing the word “minimum” as this incorporates many of the same movements you just tried.

Step 8: Moving onto writing individual letters requires a few more tricks. First, it’s great to get set up by having a letter guide to practice on. Secondly, remember that each letter has its own unique entry, exit, hairlines and wide strokes.

For more information on calligraphy, visit Rachel’s website, raechild.com.
Images via @raechid

